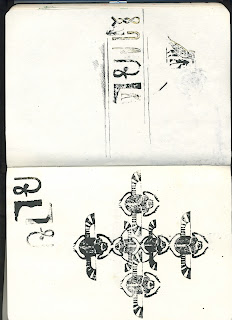
After visiting lots of different museums and galleries I started to brainstorm and think about the application of type within mine and oli's publication. The Egyptian had lots of rules when It came to communication and looking into how hieroglyphs are used has inspired me to create my own set of wooden embossing stamps. I thought to imitate the relief of the characters on the walls of the pyramids, laser cutting small hieroglyphs to be rolled with stock would create a similar effect.
The concept so far is to use a different hieroglyphs as the symbol/logo for each chapter of our publication. As we are dealing with a lot of numbers It could be that we use hieroglyphs as our page numbers. The ruling for Egyptian numbers is below.
_________________________________________________________________________________
The ancient Egyptians were possibly the first civilisation to practice the scientific arts. Indeed, the word chemistry is derived from the word Alchemy which is the ancient name for Egypt. Where the Egyptians really excelled was in medicine and applied mathematics. But although there is a large body of papyrus literature describing their achievements in medicine, there are no records of how they reached their mathematical conclusions. Of course they must have had an advanced understanding of the subject because their exploits in engineering, astronomy and administration would not have been possible without it.
The Egyptians had a decimal system using seven different symbols.
1 is shown by a single stroke.
10 is shown by a drawing of a hobble for cattle.
100 is represented by a coil of rope.
1,000 is a drawing of a lotus plant.
10,000 is represented by a finger.
100,000 by a tadpole or frog
1,000,000 is the figure of a god with arms raised above his head.
_________________________________________________________________________________
Making my Own Hieroglyphs, I started by vectoring out and creating some characters in Illustrator to work from. When working with the laser cutting I made the hieroglyph white and the surrounding area black, when using the laser cutting under the raster setting It removed 2mm of wood in the black areas out of 4mm plywood. Some of my experiments are below.
This is the Imagery I started off with, before taking it to laser cutting.
This is the Imagery I started off with, before taking it to laser cutting.
Below are the final wooden blocks I created, I'm happy with the result so far, I had to tweak some issues on the laser cutter, setting the raster to repeat twice so that the cut was much deeper and imagery became more detailed.
Further experimentation included using a really thin black quink ink to use them like wooden printing blocks. Next time a thicker ink needs to be used, but I am happy with the progress I've made with this process. If repeated on a larger scale, following the same rules applied to screen printing when using layers I think there could be potential using blocks similar to this to create the artwork to go alongside our publication.


